Televes Dat Boss Mix LR: A Comprehensive Guide (Updated 03/24/2026)
Discover the ultimate guide to maximizing your viewing experience with the Televes Dat Boss Mix LR antenna, featuring a detailed instruction video for optimal setup.
Welcome to the world of superior over-the-air television reception! The Televes Dat Boss Mix LR antenna represents a significant leap forward in home entertainment technology. This guide serves as your comprehensive resource, beginning with an introduction to this powerful device and culminating in advanced configuration techniques.
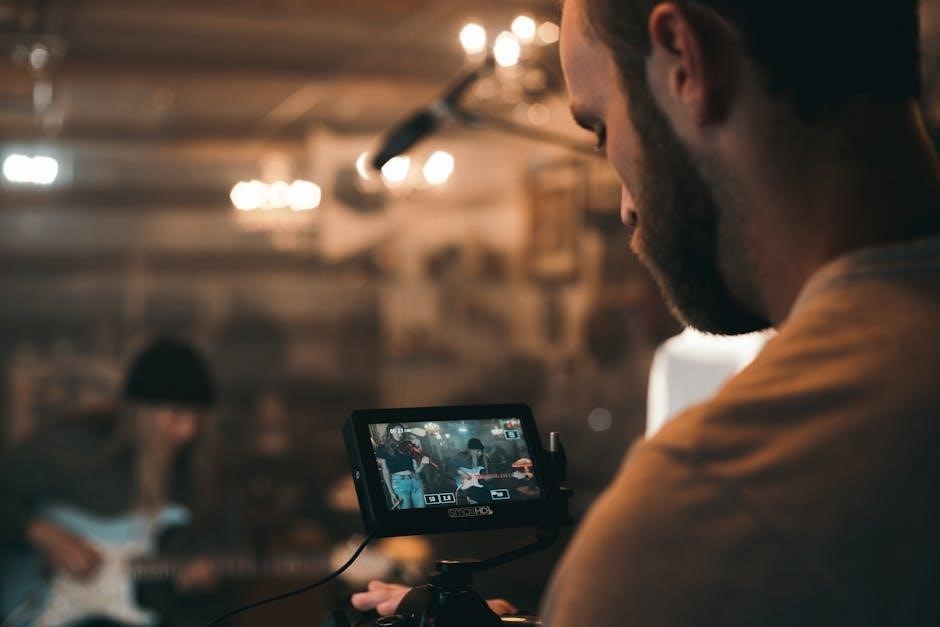
Before diving into the specifics, we highly recommend viewing the official Televes Dat Boss Mix LR instruction video. This video provides a visual walkthrough of the entire installation process, from unboxing to fine-tuning signal reception. It’s an invaluable tool, especially for first-time antenna users.
The Dat Boss Mix LR is engineered to deliver exceptional performance, capable of pulling in both VHF and UHF signals with remarkable clarity. It’s designed for longevity and reliability, ensuring years of free, high-definition television. This guide will empower you to unlock its full potential.
What is the Televes Dat Boss Mix LR?
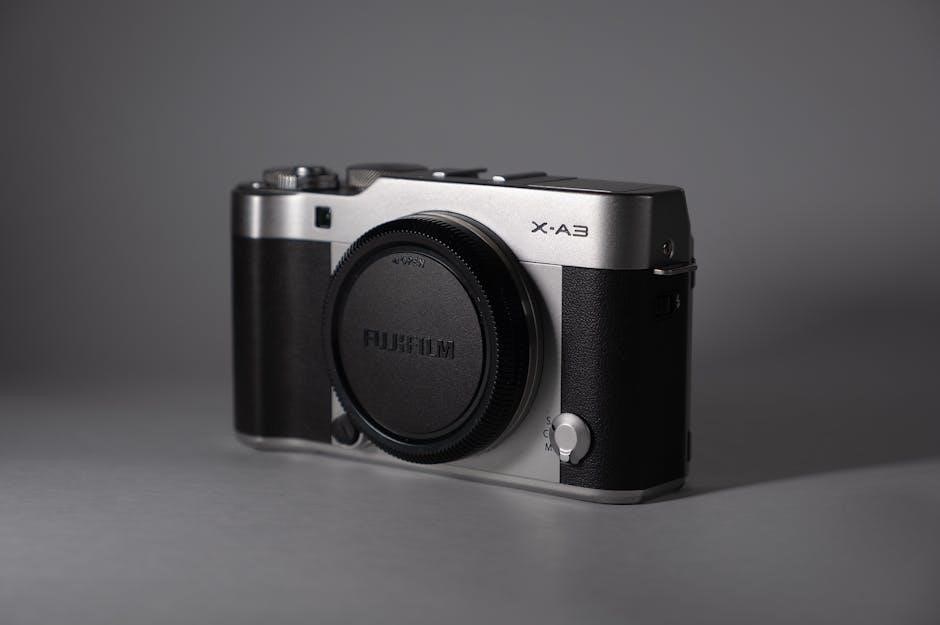
The Televes Dat Boss Mix LR (model 149884) is a high-performance, outdoor TV antenna designed to receive a wide range of over-the-air broadcast signals. It’s not just an antenna; it’s a gateway to accessing free, local television channels in stunning high definition. Crucially, understanding its capabilities begins with the official Televes instruction video.
This video demonstrates how the antenna’s unique design – a combination of VHF and UHF elements – maximizes signal capture. It’s built for both close proximity and distant tower reception, making it versatile for various geographical locations. The Mix LR excels at delivering a strong, stable signal, minimizing pixelation and dropouts.
Furthermore, the instruction video highlights the antenna’s robust construction and weather-resistant features, ensuring reliable performance year-round. It’s a premium solution for cord-cutters and anyone seeking a superior alternative to cable or satellite television.
Key Features and Specifications
The Televes Dat Boss Mix LR boasts several key features, expertly demonstrated in the official instruction video. Notably, its wideband design covers both VHF and UHF frequencies, ensuring compatibility with a broad spectrum of broadcast channels. The antenna offers a high gain of up to 16dB, maximizing signal strength even in challenging reception areas.
Specifications include a front-to-back ratio of 20dB, minimizing interference from unwanted signals. Its physical dimensions are approximately 36.6 inches long, 21.7 inches wide, and 11.8 inches deep, requiring adequate mounting space. The instruction video details proper mounting techniques for optimal performance.
Additionally, the Mix LR features a durable, UV-resistant housing, ensuring longevity and reliability. It’s designed for outdoor use and can withstand harsh weather conditions. The video emphasizes the importance of proper grounding for safety and signal integrity.
Setting Up Your Televes Dat Boss Mix LR
Follow along with our comprehensive instruction video to ensure a seamless and effective installation of your Televes Dat Boss Mix LR antenna today!
Unboxing and Component Check
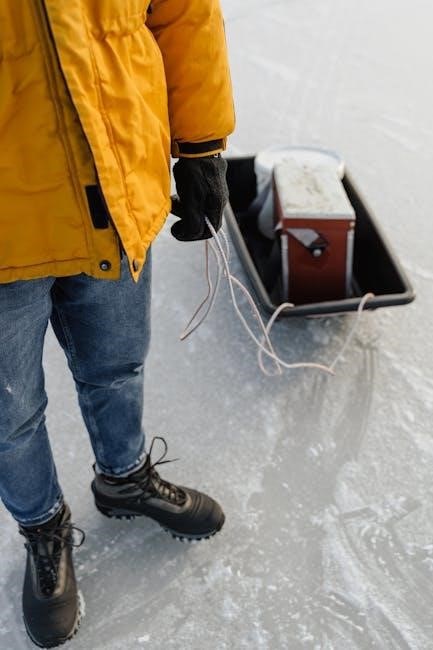
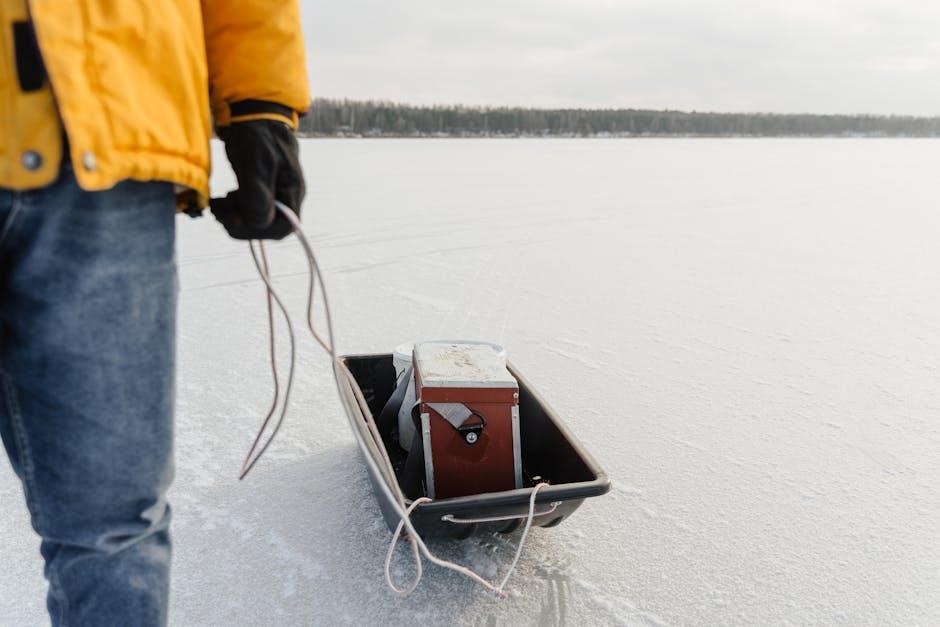
Begin your installation journey by carefully unboxing your Televes Dat Boss Mix LR antenna, referencing the accompanying instruction video for a visual guide. Ensure you have a clear workspace to prevent any lost parts. The video highlights each component as you unpack it, confirming you receive everything necessary for a successful setup.
Specifically, verify the presence of the antenna itself, the mounting hardware (mast, brackets, and screws), a coaxial cable (length may vary), and the detailed installation manual. The instruction video demonstrates how to identify each part and points out any protective packaging that needs removal. Pay close attention to the included grounding wire – a crucial safety component. A quick inventory check, guided by the video, will save you time and frustration later. Confirm all items are present and undamaged before proceeding to the next step.
Mounting the Antenna – Location Considerations
Selecting the optimal mounting location is paramount for maximizing signal reception, as detailed in the Televes Dat Boss Mix LR instruction video. Prioritize a high, unobstructed vantage point, free from trees, buildings, or other potential obstructions. The video emphasizes the importance of a clear line of sight to local broadcast towers.
Consider the antenna’s directionality; the instruction video illustrates how to determine the general direction of broadcast signals in your area. Ensure the mounting surface is sturdy enough to support the antenna, especially during inclement weather. Avoid mounting near power lines or other electrical hazards. The video demonstrates safe mounting practices and suggests using a properly grounded mast. Proper placement, guided by the visual aid, significantly impacts performance; Remember to account for potential future growth of trees or structures.

Coaxial Cable Connection – Best Practices
The Televes Dat Boss Mix LR instruction video highlights the critical role of proper coaxial cable connections for optimal signal transmission. Use high-quality, RG6 coaxial cable – avoid RG59, as it’s prone to signal loss. Ensure all connections are tight and secure, both at the antenna and the TV/receiver. The video demonstrates the correct way to attach the F-connectors, emphasizing avoiding over-tightening.

Minimize cable length; shorter runs reduce signal attenuation. Avoid sharp bends or kinks in the cable, which can degrade signal quality. Weatherproof all outdoor connections using sealant or weatherproof connectors, as shown in the video. Inspect the cable for damage before installation. Proper grounding, also covered, protects against electrical surges. Following these best practices, visually explained, ensures a stable and clear picture.
Grounding the Antenna – Safety First
The Televes Dat Boss Mix LR instruction video strongly emphasizes the importance of grounding the antenna for safety and optimal performance. Grounding protects your equipment and home from lightning strikes and power surges. The video clearly demonstrates connecting a grounding wire – typically copper – from the antenna’s grounding point to a properly grounded earth ground.
Ensure the grounding point is a dedicated grounding rod driven at least eight feet into the earth, or a properly grounded metallic water pipe. Avoid using gas pipes for grounding. The video cautions against improper grounding, which can be ineffective or even dangerous. Follow local electrical codes and consult a qualified electrician if unsure. Proper grounding minimizes interference and ensures a safe viewing experience, as detailed in the instructional content.

Optimizing Signal Reception
Unlock peak performance with the Televes Dat Boss Mix LR instruction video, demonstrating techniques for maximizing signal strength and clarity for superior viewing.
Understanding Signal Strength and Quality
Grasping the nuances of signal strength and quality is crucial for enjoying a seamless television experience with your Televes Dat Boss Mix LR. The accompanying instruction video highlights how to differentiate between these two vital metrics. Signal strength, measured in dBm, indicates the power of the received signal, while signal quality, often displayed as a percentage, reflects the clarity and error rate of that signal.
A strong signal doesn’t always equate to a clear picture; a high-quality signal is paramount. The video demonstrates how to interpret these readings on your TV’s signal meter or a dedicated signal finder. Factors like distance from broadcast towers, obstructions (trees, buildings), and interference can all impact both strength and quality. Learning to recognize these influences, as shown in the instruction video, will empower you to optimize your antenna’s positioning for the best possible reception. Furthermore, the video explains how to identify and mitigate common signal issues.
Antenna Direction – Finding the Broadcast Towers
Precisely aiming your Televes Dat Boss Mix LR antenna towards local broadcast towers is fundamental for optimal performance. The instruction video provides a step-by-step guide on locating these towers. Utilizing online resources like AntennaWeb or TV Fool, the video demonstrates how to determine the direction (azimuth) and distance to each station serving your area.
The Dat Boss Mix LR’s multi-directional capabilities are explained, but maximizing reception still requires a primary focus on the strongest signal sources. The video illustrates how to use a compass (or smartphone app) to align the antenna correctly. Fine-tuning the direction is key, and the video emphasizes the importance of small adjustments to achieve the clearest signal. Remember, obstructions can affect signal paths, so consider tower height and terrain when aiming. Proper alignment, as shown, unlocks the antenna’s full potential.
Using a Signal Meter for Precise Alignment
Achieving peak performance with your Televes Dat Boss Mix LR often requires more than just a compass. The instruction video highlights the benefits of using a signal meter for precise antenna alignment. These meters, available as standalone devices or smartphone apps, provide real-time feedback on signal strength and quality.
The video demonstrates how to connect the signal meter to your TV and slowly rotate the antenna, observing the meter’s readings. Focus on maximizing the signal strength for your most desired channels. Pay attention to signal quality, as a strong signal with low quality can still result in pixelation. The Dat Boss Mix LR’s broad beamwidth is explained, but the meter helps pinpoint the absolute best position. Remember to scan for channels after each adjustment, ensuring optimal reception. Precise alignment, guided by the meter, guarantees a superior viewing experience.
Dealing with Signal Interference
The Televes Dat Boss Mix LR instruction video addresses common sources of signal interference and provides practical solutions. Household appliances, electronic devices, and even weather conditions can disrupt your TV signal. The video explains how to identify potential interference sources by temporarily turning off or relocating devices.
It demonstrates the importance of shielding coaxial cables and ensuring proper grounding to minimize electrical noise. The Dat Boss Mix LR’s design, with its robust construction, helps mitigate some interference, but external factors still play a role. The video suggests experimenting with antenna positioning to bypass obstructions. Furthermore, it highlights the use of filters to block specific frequencies causing interference. By following these steps, you can significantly improve signal clarity and enjoy uninterrupted viewing.

Troubleshooting Common Issues
Access the Televes Dat Boss Mix LR instruction video for expert guidance on resolving signal problems, ensuring a seamless viewing experience and optimal performance.
No Signal – Initial Checks
Begin troubleshooting a “no signal” issue by referencing the Televes Dat Boss Mix LR instruction video, which clearly demonstrates essential first steps. Confirm the television is set to the correct input source – often accidentally changed. Verify all coaxial cable connections are secure at both the antenna and the TV/receiver, ensuring no loose fittings exist.
Next, briefly consult the instruction video to double-check the antenna is properly grounded, as a poor ground can interfere with signal reception. Rescan your TV’s channels; broadcasting frequencies can change, and a rescan updates the TV’s channel list. Inspect the coaxial cable itself for any visible damage, kinks, or breaks. Finally, temporarily bypass any splitters or amplifiers to determine if they are the source of the problem, as shown in the video’s diagnostic section.
Weak Signal – Amplification Options
If the Televes Dat Boss Mix LR instruction video confirms a weak signal, amplification may be necessary. Start by considering a distribution amplifier, explained in detail within the video, to boost the signal strength to multiple TVs. However, avoid over-amplification, which can introduce noise and degrade the signal; the video highlights this crucial point.
Explore preamplifiers mounted closer to the antenna, as demonstrated in the instruction video, to amplify the signal before it travels down the coaxial cable. Ensure any amplifier chosen is compatible with the Dat Boss Mix LR and supports both VHF and UHF frequencies. Refer to the video’s section on signal meters to accurately assess signal strength before and after amplification. Remember, proper grounding is even more critical when using amplifiers, as emphasized in the video’s safety guidelines.
Pixelation and Freezing – Causes and Solutions
Experiencing pixelation or freezing while watching TV after setting up your Televes Dat Boss Mix LR? The instruction video details common causes and solutions. Often, this stems from a weak or unstable signal, requiring re-evaluation of antenna direction and cable connections, as shown in the video.
Interference from other electronic devices or nearby obstructions can also contribute, addressed in the video’s troubleshooting section. Check for loose coaxial cable connections or damaged cables, demonstrated in the video’s visual guide. Consider a signal amplifier, but heed the video’s warning against over-amplification. Finally, the video suggests checking for firmware updates on your TV or set-top box, as outdated software can sometimes cause these issues.
Weather-Related Signal Loss
Adverse weather conditions can significantly impact TV signal reception, even with a high-performance antenna like the Televes Dat Boss Mix LR. The instruction video highlights how rain, snow, and even atmospheric conditions can cause temporary signal loss or degradation. Specifically, heavy rain can absorb or scatter signals, while snow accumulation on the antenna itself can obstruct reception.
The video demonstrates the importance of a properly grounded antenna to protect against lightning strikes, a major cause of damage and signal disruption. It also explains how atmospheric ducting, a weather phenomenon, can sometimes improve distant signal reception. Regularly inspect the antenna for ice buildup, as shown in the video, and ensure all connections remain secure during inclement weather.

Advanced Configuration & Features

Unlock the full potential of your Televes Dat Boss Mix LR with our instruction video, covering advanced setups and maximizing signal performance.
Combining with Other Antennas
Explore advanced techniques for enhancing your reception by combining the Televes Dat Boss Mix LR with other antennas, detailed in our comprehensive instruction video. This method is particularly useful when facing challenging signal landscapes or aiming to receive signals from multiple broadcast locations.
Learn how to strategically pair the Dat Boss Mix LR with a VHF antenna to capture a wider spectrum of channels, or combine it with a directional antenna for focused signal acquisition. The video demonstrates proper impedance matching and the use of combiners to prevent signal loss and interference.
Understand the importance of maintaining appropriate spacing and orientation between antennas for optimal performance. Discover practical tips for troubleshooting common issues that may arise when combining antennas, ensuring a seamless and powerful television viewing experience. Follow along with step-by-step guidance for a successful setup;
Using a Distribution Amplifier
Maximize your signal strength and distribute it throughout your home with a distribution amplifier, explained thoroughly in our Televes Dat Boss Mix LR instruction video. This is crucial when connecting the antenna to multiple televisions or other devices, preventing signal degradation and ensuring consistent picture quality.
Discover how to select the appropriate amplifier based on the number of connected devices and the signal loss in your cabling system. The video demonstrates proper amplifier placement, emphasizing the importance of installing it close to the antenna to boost the signal before it travels through long cable runs.
Learn about gain control and how to adjust it to optimize signal levels without introducing noise or distortion. Understand the potential pitfalls of over-amplification and how to avoid them. Follow our expert guidance for a flawless multi-TV setup, enhancing your entertainment experience.
Understanding VHF vs. UHF Reception
Delve into the nuances of VHF and UHF signal reception, explained clearly within the Televes Dat Boss Mix LR instruction video. These represent different frequency bands used for broadcasting television signals, and understanding their characteristics is vital for optimal antenna positioning and performance.
Discover how the Dat Boss Mix LR is designed to receive both VHF and UHF signals effectively, ensuring compatibility with a wide range of broadcast channels. The video highlights the differences in signal propagation – VHF signals travel further but are more susceptible to interference, while UHF signals have a shorter range but are less prone to noise.
Learn how to identify which frequencies your local stations broadcast on and adjust your antenna accordingly. Gain insights into optimizing reception for both band types, maximizing your channel lineup and picture quality.
Dat Boss Mix LR and 4K/8K Broadcasting
Explore the Dat Boss Mix LR’s capabilities in receiving the latest 4K and 8K broadcast signals, demonstrated within the comprehensive instruction video. As broadcasting technology evolves, ensuring your antenna can handle higher resolutions is crucial for a future-proof setup.
Understand how the antenna’s design supports the wider bandwidth requirements of 4K/8K transmissions, delivering a clearer and more detailed picture. The video explains that strong signal strength and quality are even more critical for these higher resolutions, minimizing compression artifacts and maximizing visual fidelity.
Discover tips for optimizing your antenna setup to receive these advanced broadcasts, including proper cable connections and minimizing interference. Learn how the Dat Boss Mix LR helps you enjoy the best possible viewing experience with the newest television standards.
Resources and Support

Access the official Televes instruction video and further support materials, including FAQs and community forums, for seamless Dat Boss Mix LR setup.
Televes Official Website and Documentation
For the most reliable and up-to-date information regarding your Televes Dat Boss Mix LR antenna, the official Televes website is your primary resource. Here, you’ll find a dedicated product page for the Dat Boss Mix LR (model 149884) containing downloadable documentation, including detailed user manuals and specification sheets.
Crucially, Televes provides a comprehensive instruction video directly on their site, guiding you through every step of the installation process – from unboxing and component identification to antenna mounting, coaxial cable connection, and signal optimization. This video is an invaluable tool for both novice and experienced users.
Beyond the installation guide, the website offers troubleshooting tips, frequently asked questions, and access to Televes’s technical support team. Ensure you bookmark the official Televes website for future reference and to stay informed about any firmware updates or new features related to your antenna.
Online Forums and Communities
Supplementing the official Televes resources, numerous online forums and communities offer valuable insights and support for Dat Boss Mix LR users. These platforms provide a space to connect with fellow enthusiasts, share experiences, and troubleshoot issues collaboratively. Many users have posted helpful videos and step-by-step guides, often complementing the official Televes instruction video.
Popular forums dedicated to over-the-air (OTA) television reception frequently feature discussions about the Dat Boss Mix LR, including tips on antenna direction, signal amplification, and interference mitigation. Searching these forums can reveal solutions to common problems and alternative installation techniques.
Remember to exercise caution and critically evaluate information found on online forums, verifying any advice with official Televes documentation or technical support. However, these communities can be a fantastic resource for gaining practical knowledge and learning from the experiences of others.
Frequently Asked Questions (FAQ)
Q: Where can I find the official Televes Dat Boss Mix LR instruction video? A: The most reliable source is the Televes official website, within the product support section for the Dat Boss Mix LR. Q: Does the video cover mounting options? A: Yes, the video demonstrates various mounting techniques, emphasizing location considerations for optimal signal reception.
Q: Is the instruction video available in multiple languages? A: Currently, the primary version is in English, but Televes may offer subtitles or dubbed versions in the future. Q: What if I’m still confused after watching the video? A: Refer to the troubleshooting section of this guide or contact Televes support directly.
Q: Does the video explain how to use a signal meter? A: Yes, the video provides a demonstration of using a signal meter for precise antenna alignment, maximizing signal strength. Q: Will the video help with interference issues? A: The video touches upon common interference sources and offers basic mitigation strategies.
Warranty Information and Support Contact
Regarding warranty, the Televes Dat Boss Mix LR antenna is covered by a manufacturer’s warranty against defects in materials and workmanship. Please retain your proof of purchase for warranty claims. The warranty period typically spans one year from the date of original purchase, but verify specifics on the Televes website.
For support, should the instruction video not fully address your needs, Televes offers several contact options. Visit their official website for a comprehensive FAQ section and downloadable resources. You can also reach their customer support team via phone or email, details of which are available on their ‘Contact Us’ page.
Additionally, online forums and communities dedicated to over-the-air television can provide peer-to-peer support and troubleshooting advice. Remember to have your model number (149884) ready when contacting support.