totino’s pizza instructions oven

Totino’s Party Pizzas are a convenient meal solution, perfect for quick dinners or satisfying cravings.

This guide provides essential oven baking instructions to ensure your Totino’s pizza is cooked properly and tastes great.

Follow these simple steps for a delicious and easy-to-prepare meal in under 20 minutes.

Essential Steps for Baking Totino’s Pizza

To bake a Totino’s pizza perfectly, start by preheating your oven to the correct temperature.

Next, remove the pizza from its packaging. Decide whether to place it directly on the rack or use a baking sheet.

These steps are crucial for achieving the desired crust crispness and overall pizza quality.

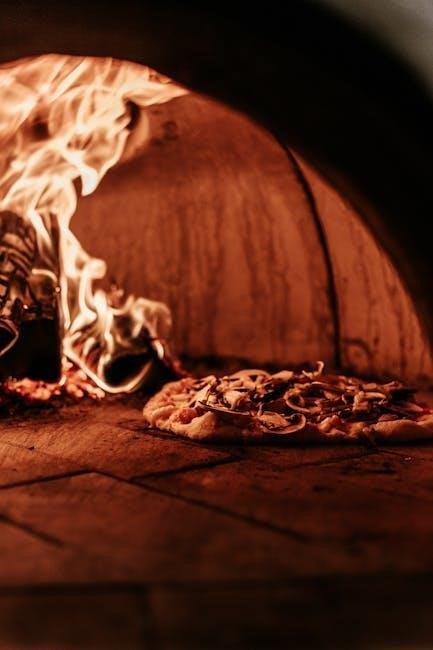
Preheating the Oven to the Correct Temperature

Preheating your oven is a critical first step in baking a Totino’s pizza to ensure even cooking and a crispy crust. According to package instructions, the ideal oven temperature is 450°F (232°C).

Any lower temperature might result in a soggy crust and an undercooked pizza, which can pose potential health risks. It’s important to allow the oven to fully preheat before placing the pizza inside.

This ensures that the pizza cooks uniformly and achieves the desired level of crispiness. If you are using a toaster oven, preheat it to the same temperature setting.

Proper preheating guarantees that the pizza will bake within the recommended time frame, resulting in a delicious and safely cooked meal. Always verify the oven is fully preheated before proceeding.

Removing the Pizza from Packaging

Carefully remove the Totino’s pizza from its packaging before baking. Begin by opening the outer box, taking care not to tear the cardboard excessively.

Once the box is open, you’ll find the pizza encased in a plastic wrapper. Gently peel back or cut open the plastic wrapper to expose the frozen pizza.

Ensure that all packaging materials are completely removed from the pizza before placing it in the oven. Leaving any plastic or cardboard on the pizza during baking can create a fire hazard or impart unwanted flavors.

Dispose of the packaging materials properly after removing the pizza. This simple step is crucial for ensuring a safe and enjoyable baking experience. Taking the pizza out of the packaging is a fast step.

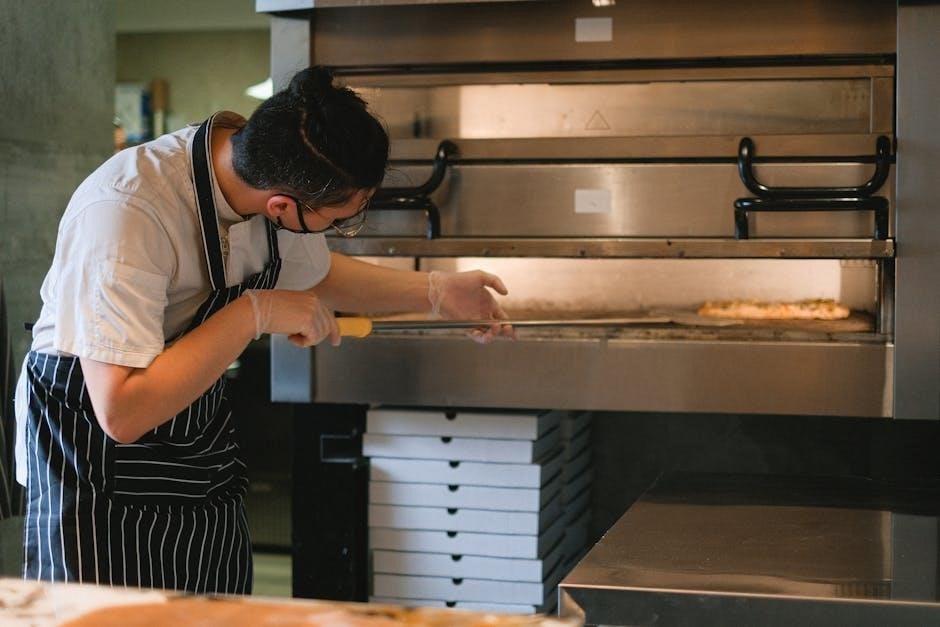
Placement Options: Rack vs. Baking Sheet

When baking a Totino’s pizza, you have two primary placement options: directly on the oven rack or on a baking sheet. Each method yields different results, catering to varying preferences for crust texture. Placing the pizza directly on the middle oven rack promotes a crispier crust.

This allows for better air circulation around the pizza, resulting in more even cooking and enhanced crispiness. Alternatively, baking the pizza on a cookie sheet results in a softer crust.

The baking sheet acts as a barrier, preventing the bottom of the pizza from becoming overly crispy. Choose the method that aligns with your desired crust texture. For a crispier crust, use the rack; for a softer crust, opt for a baking sheet. Keep the oven clean with a foil-lined sheet on the lower rack.

Baking Time and Temperature Guidelines

Preheat your oven to 450°F (232°C). For a crispy crust, bake directly on the rack for 13-15 minutes. For a softer crust, use a cookie sheet and bake for 16-18 minutes.

Recommended Baking Time for Crispy Crust

To achieve the coveted crispy crust on your Totino’s pizza, precise baking time is crucial. Preheat your conventional oven to 450°F (232°C), ensuring the temperature is consistent for optimal results. Remove the pizza from all packaging before proceeding. Place the pizza directly on the middle oven rack to allow for even heat distribution, promoting a crispy texture.

Bake for approximately 10 to 12 minutes, closely monitoring the pizza’s progress. The ideal indication of doneness is when the cheese in the center is fully melted and slightly bubbly. Keep a watchful eye to prevent overcooking, which can lead to a burnt or overly hard crust.

Adjust baking time slightly based on your oven’s performance. Remember, patience and careful observation are key to achieving that perfect crispy crust you desire.

Softer Crust Option: Baking on a Cookie Sheet

For those who prefer a softer, more pliable crust on their Totino’s pizza, baking it on a cookie sheet is the recommended approach. Preheat your oven to the standard 450°F (232°C) as directed, and remove the pizza from its packaging. Instead of placing the pizza directly on the oven rack, position it on a cookie sheet. This method helps to diffuse the heat, preventing the crust from becoming overly crispy.

Increase the baking time slightly to compensate for the reduced direct heat. Bake for approximately 13 to 14 minutes, checking for doneness by ensuring the cheese is melted and the crust is golden brown.

This technique yields a softer texture, ideal for those who enjoy a less crunchy pizza experience. Monitor closely to avoid burning, and adjust time as needed for your oven.

Post-Baking Instructions

After baking, check for melted cheese.

Carefully remove from the oven.

Let cool slightly before slicing and serving.

Refrigerate any leftovers promptly for safety.

Checking for Doneness: Melted Cheese Test

The primary visual indicator of a perfectly baked Totino’s pizza is the state of the cheese.

When the pizza is nearing the end of its recommended baking time, carefully observe the cheese in the center.

It should be fully melted and bubbly, with a slightly golden or browned appearance in some areas.

This melted state indicates that the pizza has reached an internal temperature suitable for consumption and that the toppings have melded together harmoniously.

If the cheese is still firm or appears unmelted, extend the baking time by a minute or two, checking periodically to prevent burning.

Use caution when opening the oven to avoid burns from escaping steam.

A fully melted cheese center is a key sign of a well-baked and delicious Totino’s pizza, ready to be enjoyed.

Remember, baking times may vary slightly depending on your oven.

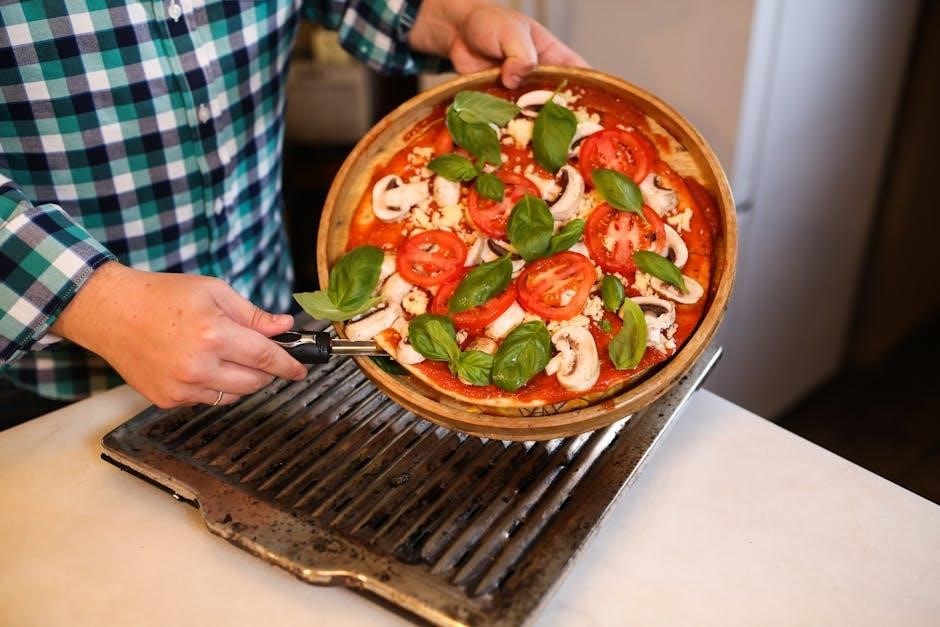
Slicing and Serving Suggestions

After confirming that your Totino’s pizza is baked to perfection, carefully remove it from the oven using oven mitts.

Allow the pizza to cool for a minute or two on a cutting board before slicing to prevent burning yourself and to allow the cheese to set slightly.

For traditional square slices, use a pizza cutter or a sharp knife to cut the pizza into even portions.

Alternatively, you can cut it into triangles for a more classic pizza slice shape.

Serve the pizza immediately while it’s hot and the cheese is still melted and gooey.

Consider adding a sprinkle of red pepper flakes or a dash of your favorite herbs for an extra burst of flavor.

Totino’s pizzas are great on their own, but also pair well with a side salad or some garlic bread.

Enjoy your freshly baked Totino’s pizza with friends and family!

Alternative Cooking Methods and Considerations

While the oven is the recommended method, Totino’s pizza can also be prepared in a toaster oven.

Microwave cooking is possible, but use caution.

Adjust cooking times accordingly for best results.

Toaster Oven Instructions

For those opting for a toaster oven, preheating is still essential, aiming for the same 450°F (232°C) as a conventional oven. This ensures even cooking and a crispy crust. Due to the smaller size of a toaster oven, monitor the pizza closely during baking to prevent burning. Typically, the baking time will be shorter than in a conventional oven, around 17-18 minutes, but it’s crucial to check for doneness by ensuring the cheese is fully melted in the center. Placement is key; position the pizza on the middle rack to promote uniform heating. Keep a close watch and adjust baking time as needed to achieve your desired level of crispiness.

Remember, every toaster oven varies, so your experience may differ.

Regular checks are vital for perfectly cooked Totino’s pizza.

Microwave Cooking: A Note of Caution

While the packaging typically advises against it, some may consider microwaving Totino’s pizza for speed. However, be aware that this method significantly alters the texture, resulting in a soft, chewy crust rather than the desired crispness. Microwave cooking is not recommended for the best culinary experience. The pizza may become doughy and lack the satisfying texture achieved through oven baking. If opting for the microwave out of necessity, closely monitor the cooking time to prevent overheating or a rubbery consistency. Keep in mind that microwaving will not replicate the oven-baked flavor or texture, and it is generally considered a less desirable method for preparing Totino’s pizza. For optimal results and a superior taste, stick to oven or toaster oven baking.

Consider alternative cooking methods for better results.

Frequently Asked Questions (FAQs)

This section addresses common queries about cooking Totino’s pizza. From baking multiple pizzas to handling leftovers, find quick answers here. Get the most out of your Totino’s experience!

Can You Cook Multiple Pizzas at Once?

Yes, you can cook multiple Totino’s pizzas simultaneously in your oven, making it convenient for gatherings or feeding a crowd. However, there are a few key considerations to ensure even baking and optimal results.

First, preheat your oven to the recommended temperature of 450°F (232°C). Arrange the oven racks to accommodate multiple pizzas, ensuring sufficient space between each rack for proper air circulation. Place the pizzas on separate baking sheets or directly on the oven racks, depending on your desired crust crispness.

Monitor the pizzas closely during baking, as cooking times may vary slightly when baking multiple pizzas at once. Rotate the baking sheets halfway through the baking time to promote even cooking. Check for doneness by ensuring the cheese is melted and bubbly in the center.

Remember to avoid overcrowding the oven, which can lower the temperature and result in unevenly cooked pizzas. Adjust baking time as needed, and enjoy your pizza!

What to Do with Leftovers

Leftover Totino’s pizza can be just as enjoyable the next day! Proper storage is key to maintaining its flavor and texture. Once the pizza has cooled, promptly refrigerate any uneaten portions within two hours to prevent bacterial growth.

Store the leftover slices in an airtight container or wrap them individually in plastic wrap or aluminum foil. This will help prevent them from drying out or absorbing odors from other foods in the refrigerator. When stored properly, leftover Totino’s pizza can last for up to 3-4 days in the refrigerator.

To reheat, you can use several methods. For a crispy crust, reheat the slices in a preheated oven or toaster oven at 350°F (175°C) for a few minutes. Alternatively, you can microwave the pizza for a quicker option, although the crust may become softer. Another excellent way is in an air fryer, which will bring back the crispy crust! Enjoy your reheated pizza!

deltran battery tender instructions

Deltran Battery Tenders are crucial for maintaining battery health. This guide provides key safety measures, operating steps, and troubleshooting tips. These chargers keep your battery fully charged and extend its life. Follow the instructions carefully for optimal performance.

Understanding Battery Tender Technology

Battery Tenders utilize smart charging technology. They provide a full charge and switch to float mode. This prevents overcharging and maintains optimal battery health. This extends battery life and ensures readiness for powersport vehicles and more.

Smart Charging and Maintenance

Deltran Battery Tenders employ smart charging technology to optimize battery performance and longevity. This advanced system intelligently monitors the battery’s charge level, delivering a precise amount of current to ensure a full charge without the risk of overcharging. The charger automatically transitions to maintenance mode once the battery reaches its peak capacity, providing a float charge to compensate for self-discharge and keep the battery ready for use.

This smart charging process extends battery life by preventing sulfation, a common cause of battery failure. Regular use of a Battery Tender can significantly reduce the need for battery replacements, saving you money and ensuring your vehicles are always ready to go. Furthermore, the system is designed for various battery types, including lead-acid, AGM, and gel cell batteries, providing versatility and convenience.

Float Mode Explained

Float mode is a crucial feature of Deltran Battery Tenders, designed to maintain a battery at its full charge level indefinitely without causing damage. Once the battery reaches 100% charge, the Battery Tender automatically switches to float mode. In this mode, the charger significantly reduces the voltage and amperage supplied to the battery.

Instead of continuously charging, the Battery Tender provides a small, consistent current. This current offsets the natural self-discharge that occurs in batteries over time. By maintaining a stable voltage, float mode prevents overcharging, gassing, and plate damage, which can shorten a battery’s lifespan. This mode allows you to leave your Battery Tender connected for extended periods, ensuring your battery remains in optimal condition. Float mode is ideal for vehicles stored for long durations, such as motorcycles, ATVs, and seasonal equipment, guaranteeing they are ready for immediate use.

Safety Instructions

Prioritize safety when using a Deltran Battery Tender. Read the manual carefully to avoid hazards. Always work in a well-ventilated area. Wear eye protection and avoid sparks near the battery during operation.

Warnings and Cautions

Always disconnect the Battery Tender from the AC power outlet before disconnecting from the battery to prevent sparks. Never expose the charger to rain or snow to avoid electrical shock hazards. Using attachments not recommended by Deltran can cause damage or injury. Ensure the Battery Tender is suitable for your battery type, whether lead-acid or lithium.

Always review the battery manufacturer’s safety instructions. Working near a battery can produce explosive gases; avoid smoking or open flames. If battery acid contacts skin or clothing, wash immediately with water. Seek medical attention if acid enters the eyes.

Do not immerse the Battery Tender in water or short the terminals. Store the unit away from heat sources. Improper use can lead to battery explosion or charger malfunction. Keep out of reach of children. Regularly inspect the charger’s cords and connections for damage and replace if necessary.

Avoiding Battery Explosion Risks

To mitigate battery explosion risks, ensure proper ventilation when charging. Batteries emit explosive gases during charging, so work in a well-ventilated area to disperse these gases. Avoid any sources of ignition, such as sparks, open flames, or smoking, near the battery during charging.

Before connecting the Battery Tender, verify the correct voltage and polarity. Incorrect connections can cause sparks, leading to potential explosions. Always attach the positive (red) clamp to the positive terminal and the negative (black) clamp to the negative terminal or chassis ground.

Regularly inspect the battery for signs of damage, such as cracks or leaks, which can increase explosion risks. If the battery appears damaged, discontinue use and consult a professional. Never attempt to charge a frozen battery, as this can also lead to an explosion. Following these guidelines will help ensure a safe charging process.

Operating Instructions

Proper operation is key for effective charging. Connect the tender correctly, observing polarity. The charging process involves initialization, bulk, and absorption phases. Monitor the tender’s indicator lights to understand the current charging stage and ensure optimal battery maintenance.

Connecting the Battery Tender

Connecting your Deltran Battery Tender correctly is essential for safe and effective charging. First, ensure the charger is disconnected from the power outlet before making any connections to the battery. Identify the positive (+) and negative (-) terminals on your battery. Attach the red clamp of the Battery Tender to the positive terminal and the black clamp to the negative terminal. Double-check that the connections are secure and free from corrosion.

For permanent installations, you can use the included ring terminals; Connect the red ring terminal to the positive battery post and the black ring terminal to the negative post. After the connections are made, plug the Battery Tender into a suitable power outlet. Ensure the area is well-ventilated and free from flammable materials. The charger’s indicator lights will illuminate, signaling that the charging process has begun. Misconnecting the charger can cause damage, so always verify polarity.

Charging Process: Initialization, Bulk, Absorption

The Deltran Battery Tender utilizes a sophisticated multi-stage charging process. This process optimizes battery health and longevity. The initial stage is the “Initialization” phase. During this phase, the charger assesses the battery’s condition. It determines the appropriate charging parameters. The second stage is the “Bulk” charge. The charger delivers a constant current to rapidly restore the battery’s charge to approximately 80%.

Next comes the “Absorption” phase. Here, the voltage is held constant, and the current gradually decreases. This ensures the battery is fully charged without overcharging. The Battery Tender monitors the battery’s voltage and current throughout these phases. It automatically adjusts to provide the most efficient and safe charging possible. Each stage is crucial for maximizing battery performance and lifespan. This intelligent charging system sets Battery Tender apart from conventional chargers.

Specific Models and Their Instructions

Deltran offers various Battery Tender models, each with unique features. This section covers instructions for specific models like Battery Tender Plus, 5 Amp Charger, and SELECTABLE 800. Follow the guidelines for optimal performance and safety.

Battery Tender Plus

The Battery Tender Plus is a 12V, 1.25 AMP charger designed to extend the life of batteries in motorcycles, ATVs, and watercraft. It’s suitable for all lead-acid, flooded, and sealed maintenance-free batteries (AGM and gel cell). This advanced charger provides a full charge before switching to float mode.

This ensures optimal battery health by preventing overcharging. The Battery Tender Plus automatically monitors and maintains the battery at full charge. It charges at a rate of 1.25 AmpHours per hour. A fully discharged 15 Amp-Hour battery will take approximately 10 hours to reach 80% capacity.

The green status indicator shows when the battery is fully charged and in storage/maintenance mode. Deltran offers an industry-leading 10-year warranty on this model.

Battery Tender 5 Amp Charger

The Battery Tender 5 Amp charger is designed for rapid maintenance and recharging of batteries. It uses a fully automatic four-step charging process: initialization, bulk, absorption, and float. Once the battery is fully charged, the 5 Amp charger switches to float mode, preventing overcharging and maintaining optimal battery health;

This versatile charger is compatible with both lithium and lead-acid batteries, including flooded and sealed maintenance-free batteries like AGM and Gel Cell. It’s suitable for a wide range of vehicles, including cars, tractors, boats, SUVs, trucks, and RVs. The 5 Amp charger also features a 72-hour timer for added safety and protection.

This feature helps prevent overcharging and ensures the longevity of your battery. Its ease of use and broad compatibility make it a reliable choice for various battery maintenance needs.

SELECTABLE 800 Model

The Deltran Battery Tender SELECTABLE 800 is a versatile 12V charging system designed for both Six Cell Lead Acid/AGM and Four Cell Lithium Iron Phosphate (LiFePO4) batteries. This model offers selectable charging options to cater to different battery types, ensuring optimal charging performance and safety.

It’s crucial to choose the correct setting based on your battery type to prevent damage or inefficient charging. The SELECTABLE 800 model is equipped with safety features to protect against overcharging and reverse polarity. Always refer to the user manual for specific instructions on selecting the appropriate charging mode.

This charger is ideal for maintaining batteries in motorcycles, ATVs, and other powersports vehicles. Its selectable features and safety mechanisms make it a reliable choice for diverse battery maintenance needs.

Troubleshooting Common Issues

When using a Deltran Battery Tender, you might encounter some common issues. If the charger doesn’t seem to be working, first check the power connection and ensure the outlet is functioning correctly. Next, verify that the clamps are securely attached to the battery terminals, paying attention to proper polarity (+ to + and ─ to -).

If the charger indicates an error, consult the user manual for specific error code explanations. A flashing light often indicates a problem with the battery, such as sulfation or an inability to hold a charge. In such cases, consider having the battery professionally tested.

Ensure the battery type setting matches the battery you are charging. If problems persist, contact Deltran’s customer support for further assistance. Remember, incorrect connections or settings can lead to damage.

Maintenance and Storage

Proper maintenance and storage of your Deltran Battery Tender ensures its longevity and reliable performance. After each use, disconnect the charger from both the power source and the battery. Clean the clamps with a dry cloth to remove any corrosion or debris that may have accumulated.

Inspect the cords and cables for any signs of damage, such as cracks or frayed wires. If damage is found, discontinue use and replace the damaged components. Store the Battery Tender in a cool, dry place away from direct sunlight and extreme temperatures.

Avoid wrapping the cords tightly around the unit, as this can cause damage over time. It is best to loosely coil the cords and secure them with a cable tie. Periodically check the charger for any signs of wear and tear. Following these simple steps will help keep your Battery Tender in excellent working condition.